Simple Solutions: Easy DIY Relief Print Registration Board
A new art technique/hobby starts out innocent enough, right? Take printmaking. You carve something, turn the carving over onto a sheet of paper and press really hard. Simple stuff.
It always starts out simple. Next thing you know, you've fallen into the rabbit hole. Such is my life, my friend. Such is my life.
Before heading out to purchase yet another supply, I try to come up with simple solutions for big problems - like registration. I searched the web and found tons of ideas but this one seemed to work better for me because it's inexpensive, portable and quick.
Easy DIY Relief Print Registration Board
Materials:
If you use a thinner linoleum:
Art Board or Mat Board
If you use a thicker lino, such as Easy Carve:
Foam Core
Exacto Knife
Ruler (I use a cork backed metal ruler)
Cut the board to the size of the paper you're using. I use 8" x 10".
Center and cut the inside the size of your carving - mine is 4" x 6".
Since you may collect a few of these, record the dimensions on your board.
Ink your carving. Then...
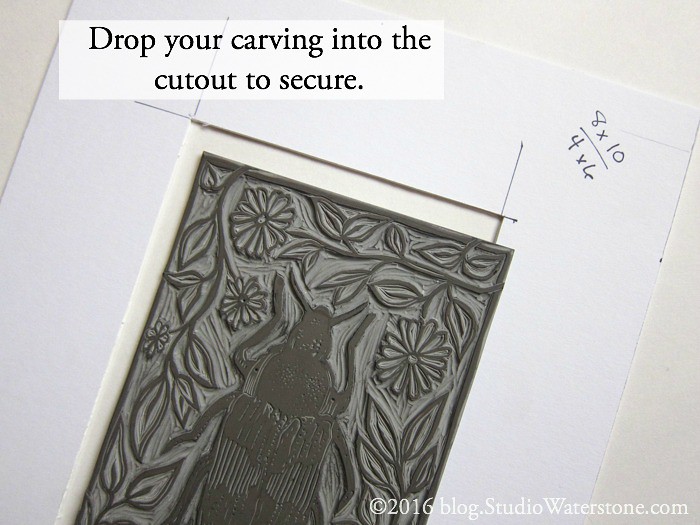
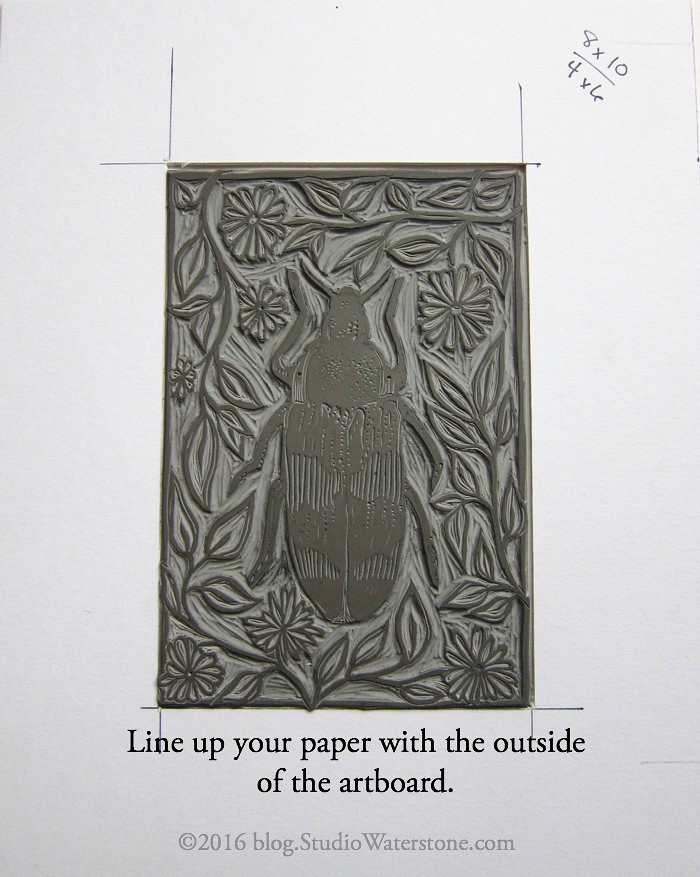
Carefully line up your paper with the board. Hold it in place.
At this point, I use a hard brayer to roll over the back of the paper. Then I'll go back over with the back of a wooden spoon to make sure I get a good transfer. That's it!
This solution is ideal for printing two or more colors.
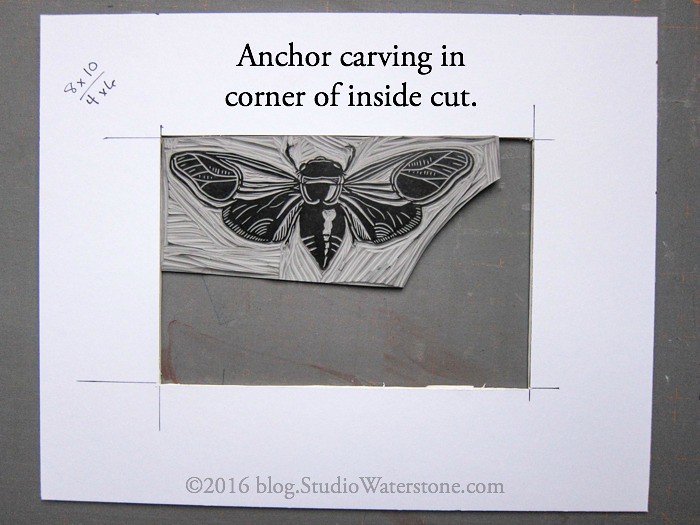
It will also work for smaller or odd shaped prints. Here's how...
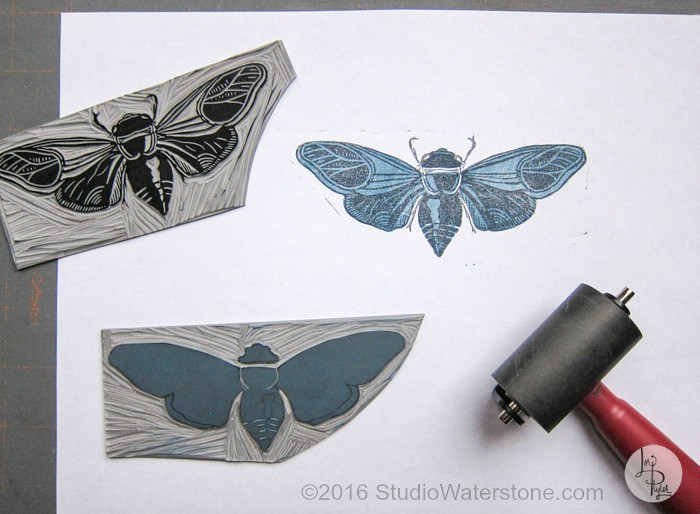
Make sure that each carving layer has a square corner.
(I use the same original sketch, in pencil, on tracing paper.)
Then rub it onto similar sized pieces of linoleum.
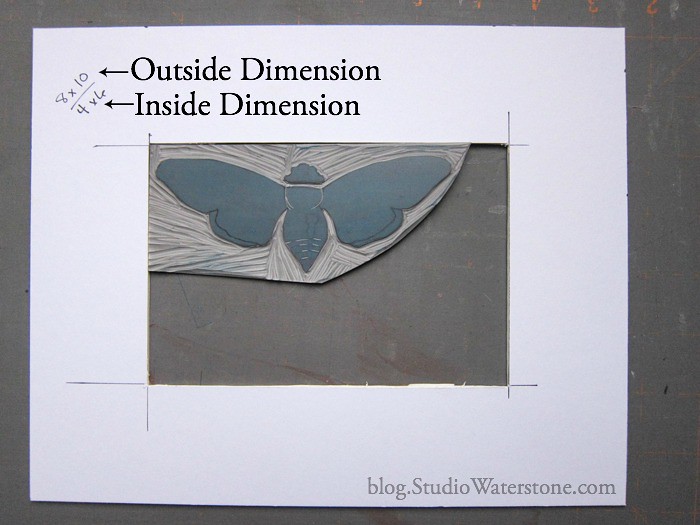
Place each carving in the jig in the same position and transfer your print!
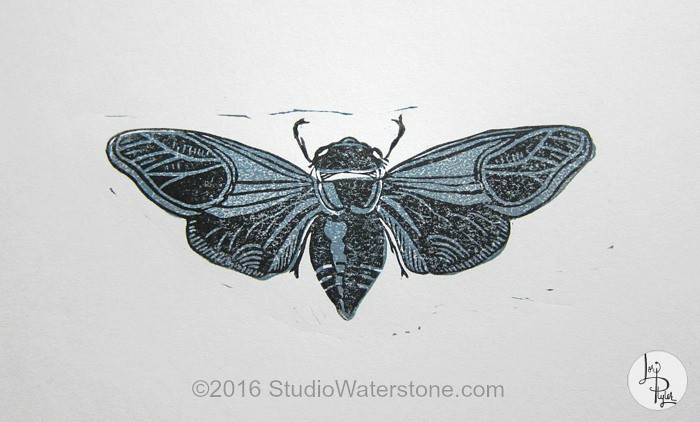
There you have it. My simple (and cheap) printing registration solution.
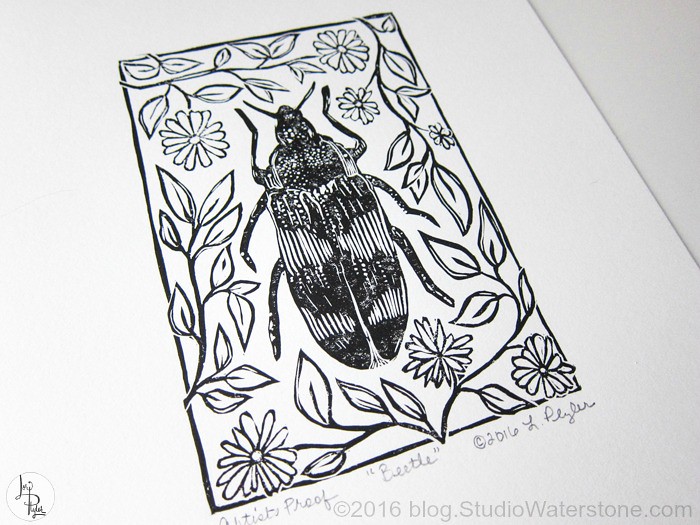
I can totally empathize about the idea of falling in to the rabbit hole on supplies for this sort of idea. Great work
ReplyDelete