DIY: Leather Planner With Interchangeable Inserts
To say I get excited about making my own planner would be a gross understatement. I have been planning since Thanksgiving.
If you're not up to date, last year my favorite planner was discontinued and, with a very stubborn and somewhat angry attitude, I decided to make my own version.
While perusing options for 2016 on Pinterest, I found tons of tutorials for this beautiful leather cover. Since the inserts for these planners are interchangeable (and I love interchangeable), I knew that this style would be the perfect cover option for 2016. Here's what I did...
Materials for Cover:
9" x 12.5" piece of sturdy leather (I use folded 8.5" x 11" paper for the inserts)
Smaller scraps for inside pockets: 1 at 4.5" wide x 9" high and one triangle at about 5" high x 4.5" wide.
Xacto knife or rotary cutter
Ruler
Elastic Cord (for center straps and outer band)
Hole punch or hammer and awl or nail
Waxed linen thread or heavy thread
This is the tutorial I used for making my cover. (I used different sizes for the cover but the process is the same.) Again, you can find lots of tutorials from this search on Pinterest. Below is a breakdown of my finished piece.
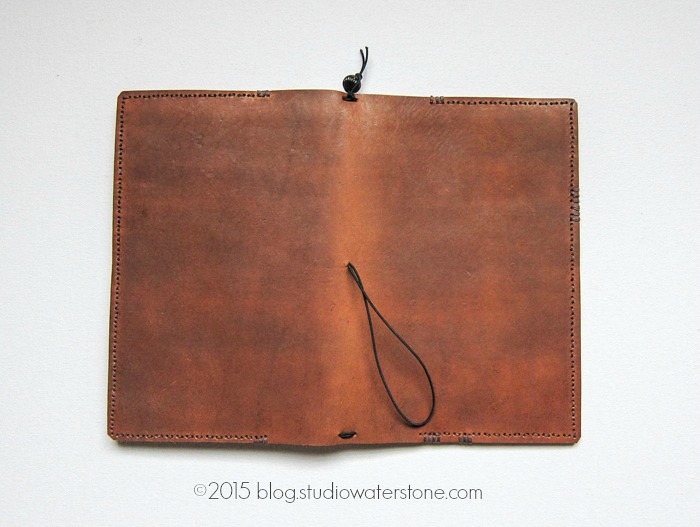
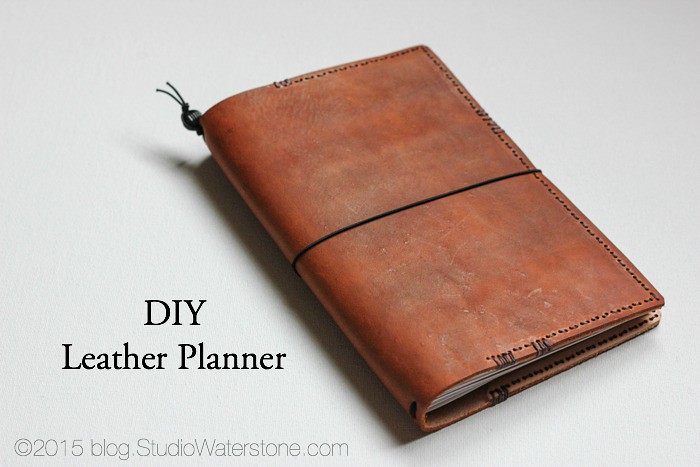
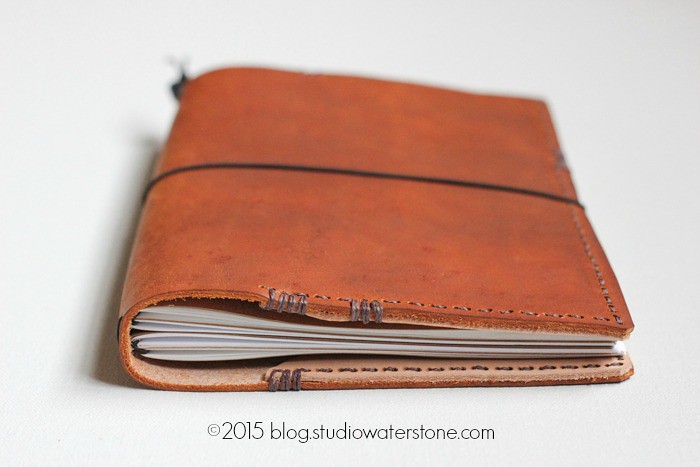
Outside
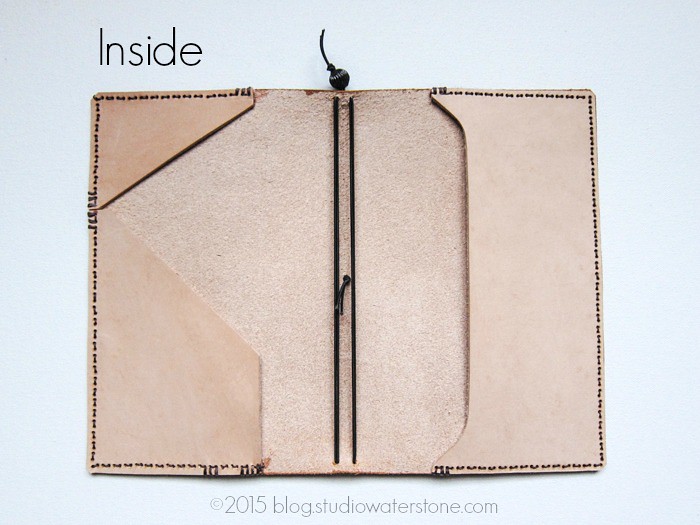
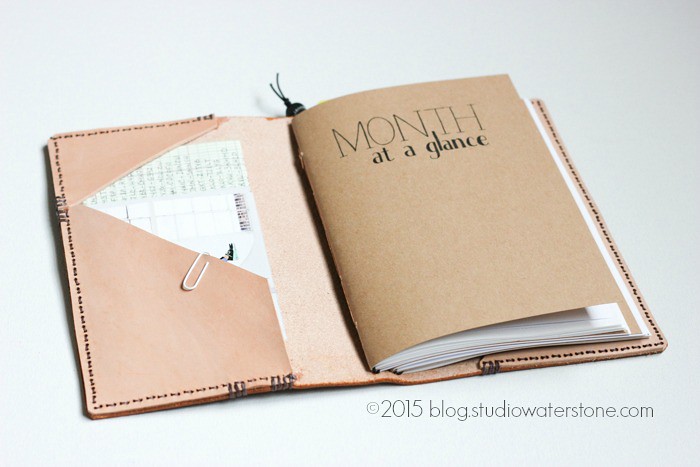
I added two outer pockets to the inside front and back.
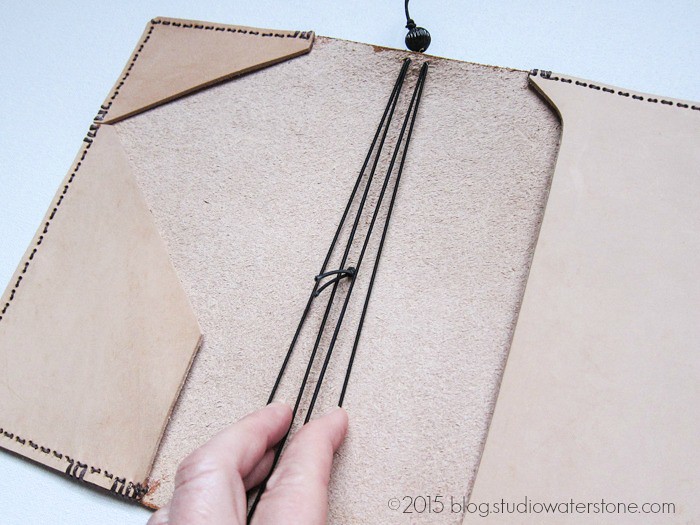
• The middle contains four elastic bands threaded through from the outside and finished with a decorative bead.
• At the center I added another piece of elastic for the outer band (shown in the outer picture above).

Detail of hand stitching for the inside pockets.
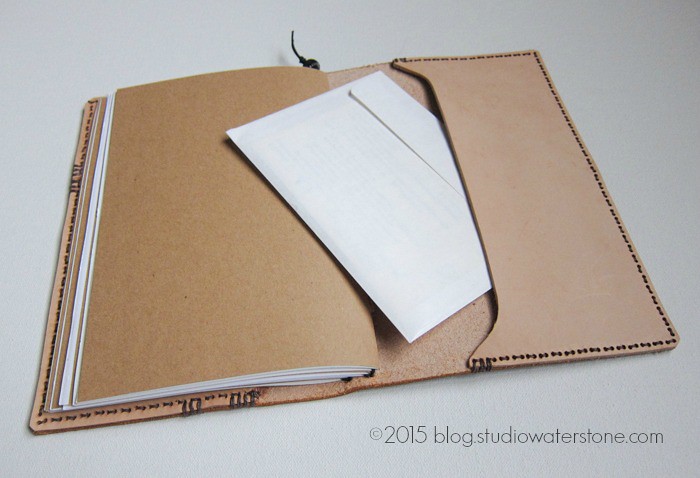
Inside back.
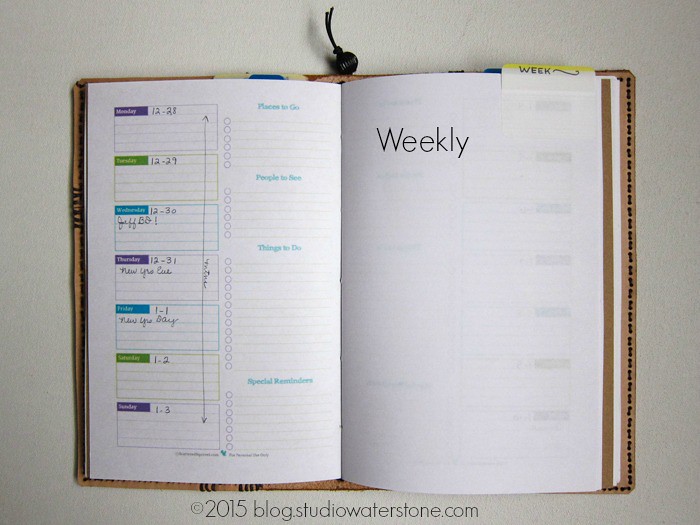
For the inserts, I kept the same plan from my earlier tutorial.
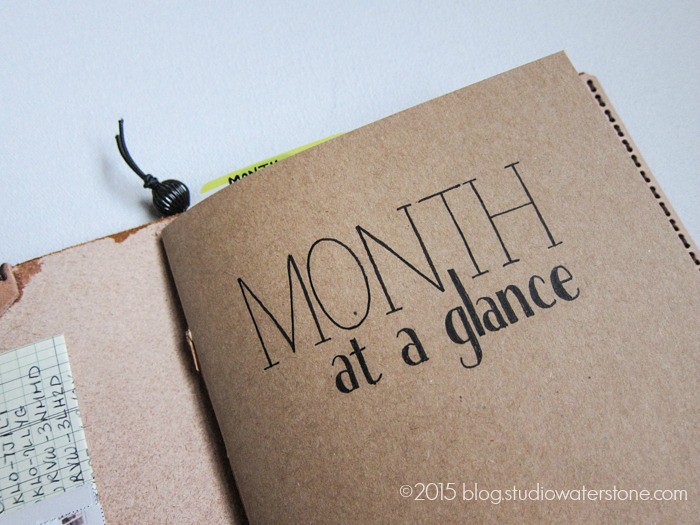
I created four small booklets shown below:
1st - month at a glance
2nd & 3rd - weekly divided into two signatures
4th - blank notebook.
Each booklet has a kraft paper card stock outer page.
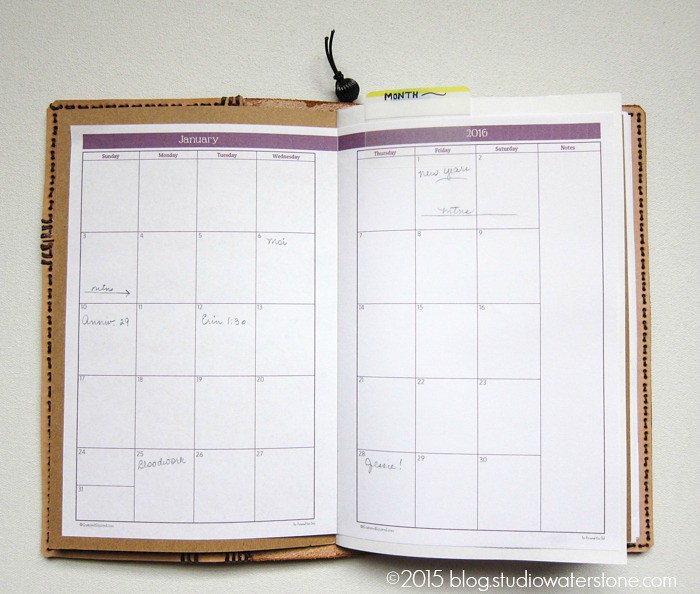
This is my go-to source for planner printables.
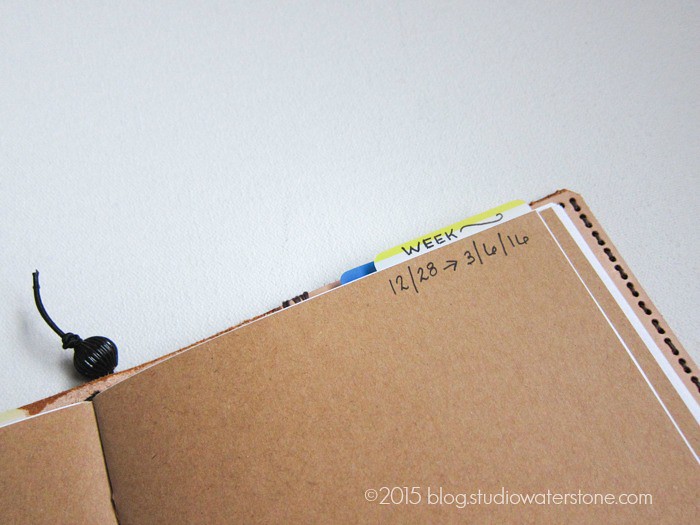
As stated above, the weekly pages are divided into two booklets.
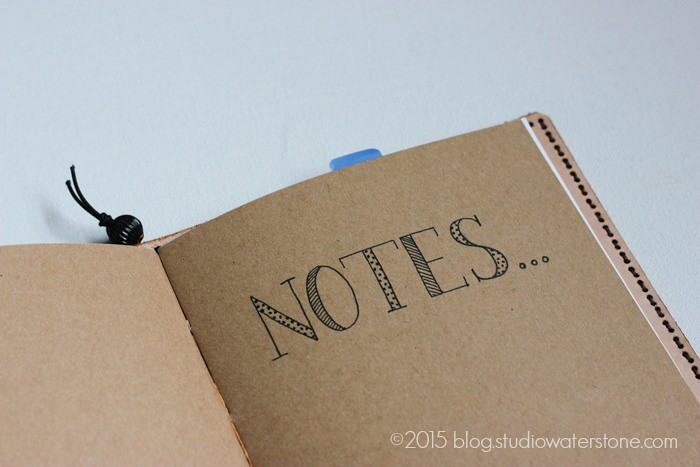
Blank booklet for additional notes & sketches.
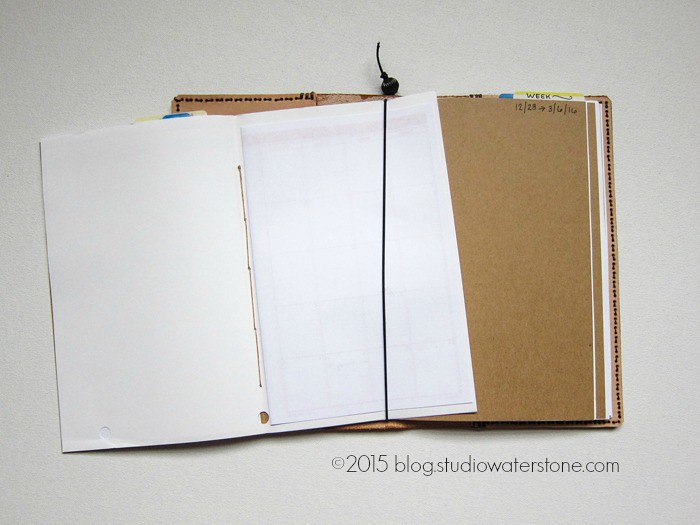
Once the booklets are completed, each can be threaded through one strand of elastic in the center.
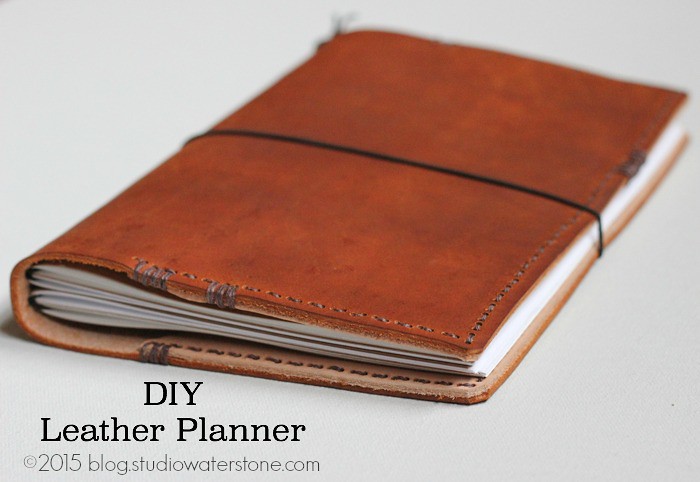
I know I say this every time, but this is my favorite planner to date. It's a combo of great leather and I can decorate and personalize each booklet then start over with new booklets when ready! It's the best of both worlds.
Are you still a paper planner or are you all digital?


Lori-I love this! I made me a few of the traveler's notebook style covers, but my favorite is one I just made a couple of weeks ago. It's a tri-fold cover, but with outer pockets on the second and third sections and a tie that goes all the way around. I will take a picture and email you. Yours is so pretty. Mine is kind of primitive-lol!
ReplyDeleteKim (Texas)
Kim, I got your pictures and yours is the bomb!!! I wanted to do a tri-fold but was afraid I'd mess up even more leather than the regular one for my first time. :) I may have to attempt one of those trifold journals next.
DeleteI was wondering where you got your leather from and if it had that weird leather smell lol
DeleteHi Gwen,
DeleteI got a large piece of natural leather from Tandy Leather - the Atlanta area has a local shop but you can purchase leather online on their website. As someone who enjoys the smell of leather, I can only say that the smell is probably there but not strong. :)