52 Weeks of Print: 36/52
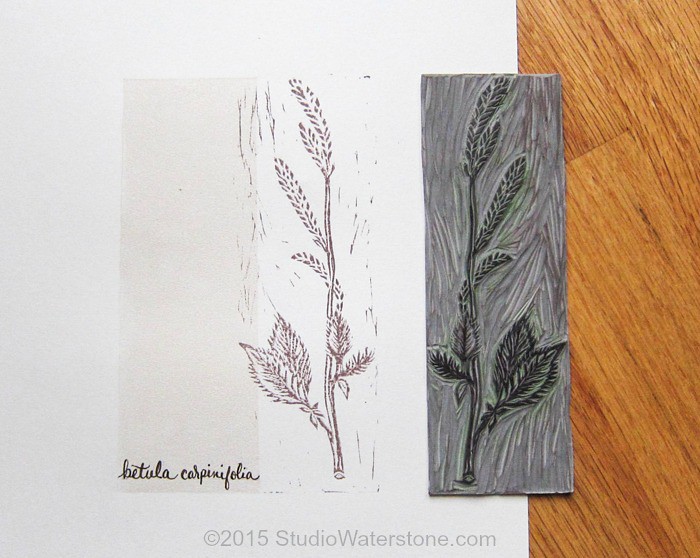
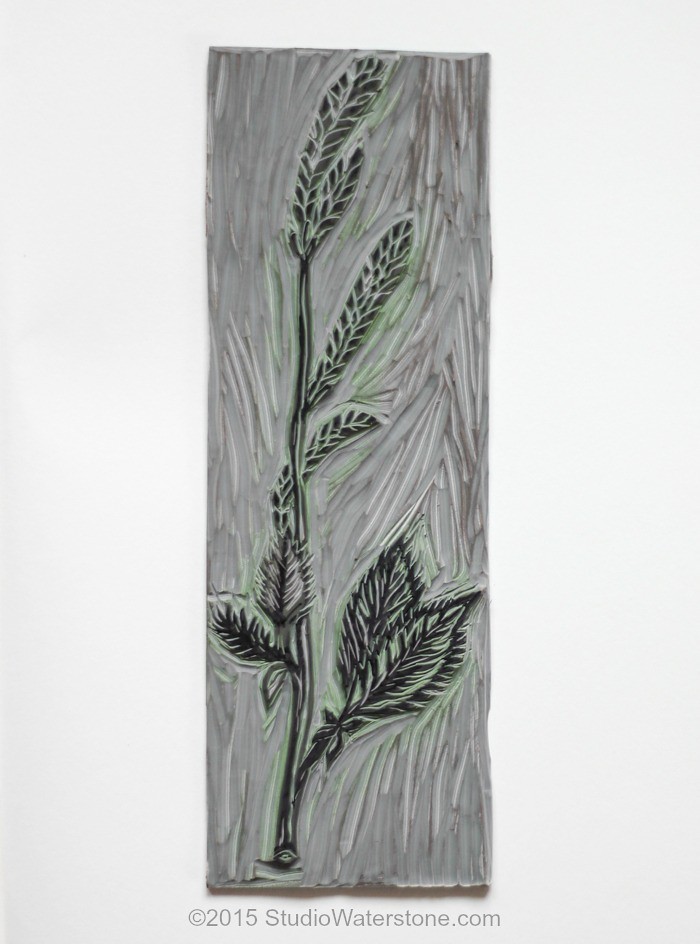
I had a grand reduction print vision with this carving but once I really got into it I decided, instead, to create a different composition by adding the stamped tan bar to the left. This did the trick.
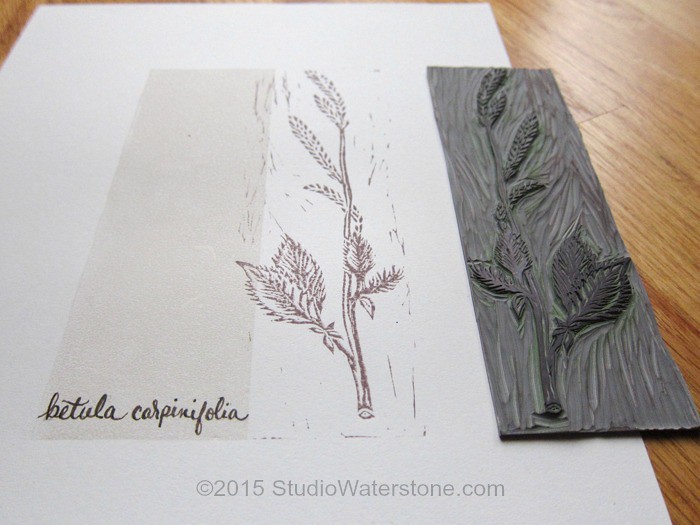
Sometimes you've just got to play.
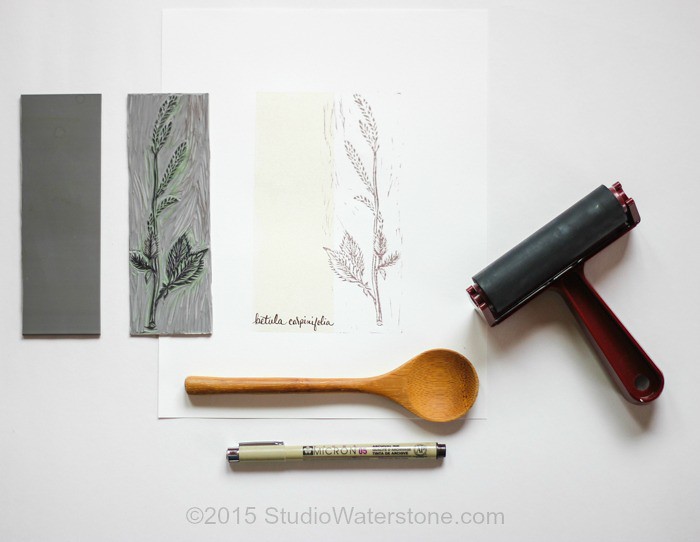
A few of my tools. Are you wondering why the wooden spoon is in the picture? Here's my process...
I apply ink to my linoleum block (this brand is my favorite to date), lay the paper over the carving and run a brayer across. THEN I use the back of the spoon to rub over the paper to make sure the ink has transferred well. Works like a charm.
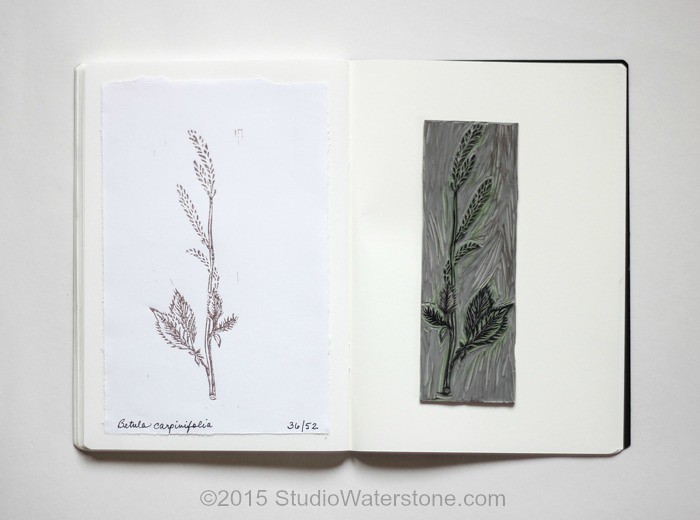
There you have it! Moral of the story with this week, don't give up when things are looking a little questionable. Instead, begin to play and trust the process.
Week 36/52
Click here to see weeks 1-35.
You can also see the process on my Pinterest board.
Follow Studio Waterstone on Bloglovin.


Lovely to see more of your process. Lori what tool do you use to apply your ink to the linoleum block?
ReplyDeleteDifferent ways, Karen. For most, I use another brayer to pick up the ink and apply it to the carving. I think that's the best way to get good coverage. In a pinch, I'll bounce a stamp pad over the carving - if I'm out of town without all my supplies. Or I've used a dauber to apply ink as well.
ReplyDeleteWhat a beauty this is, Lori!
ReplyDelete