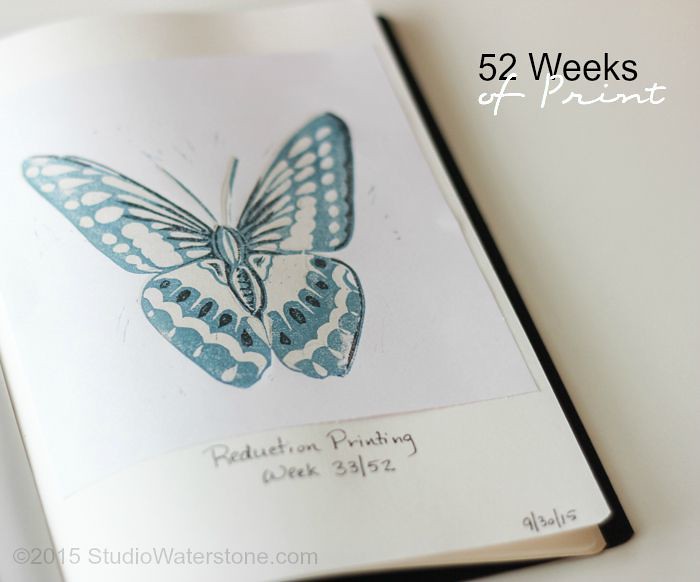
52 Weeks of Print: 33/52 Reduction Printing
After 32 "Weeks" of Printing, it's time to put on my big girl pants and move past a simple monoprint.
This week I eased into the world of reduction printing. It's still a carved block print made with linoleum or wood blocks. In Wikipedia's words, a reduction print is a multicolor print in which separate colors are printed from the same block at different stages.
I know. Kind of scary because if you make a mistake there's no going back. Hence, MANY different prints are made in an attempt to end with one non crappy result...at least in my world. So, if you're actually doing a series, you'd create more than your targeted number of prints.
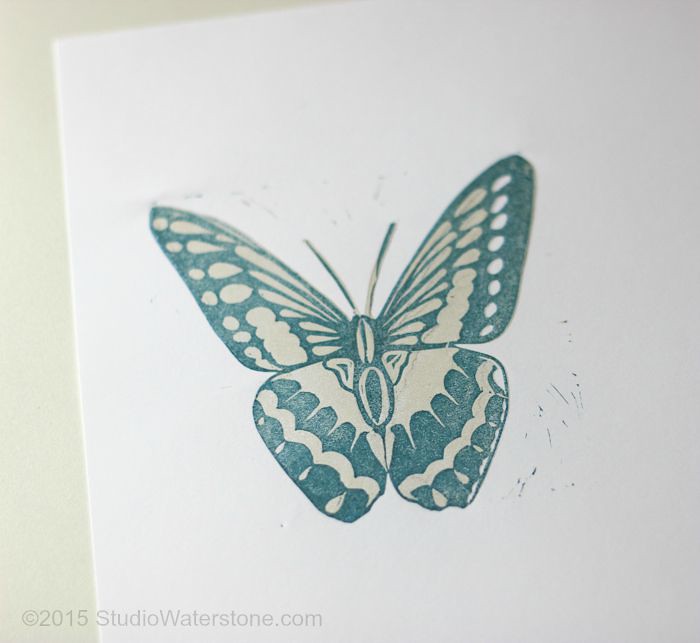
With this simple print I decided to use three colors - printing lightest to darkest. Here's the process in a nutshell...
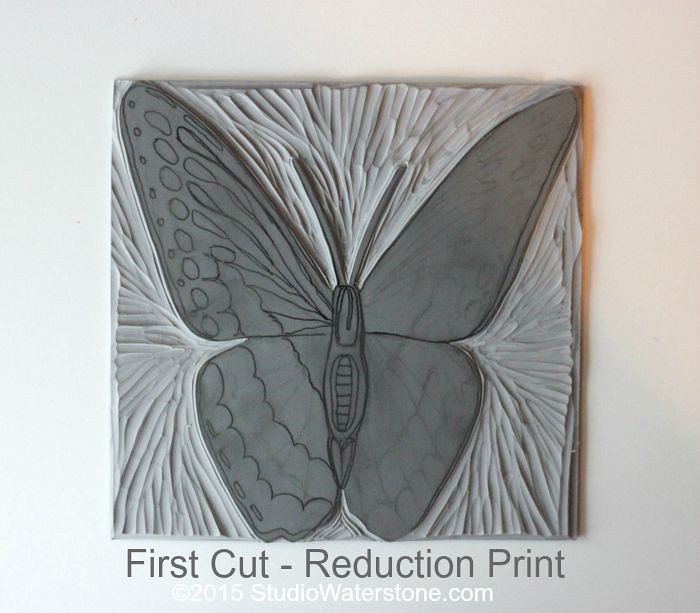
After this picture was taken, I decided to carve out the holes on one side to keep white.
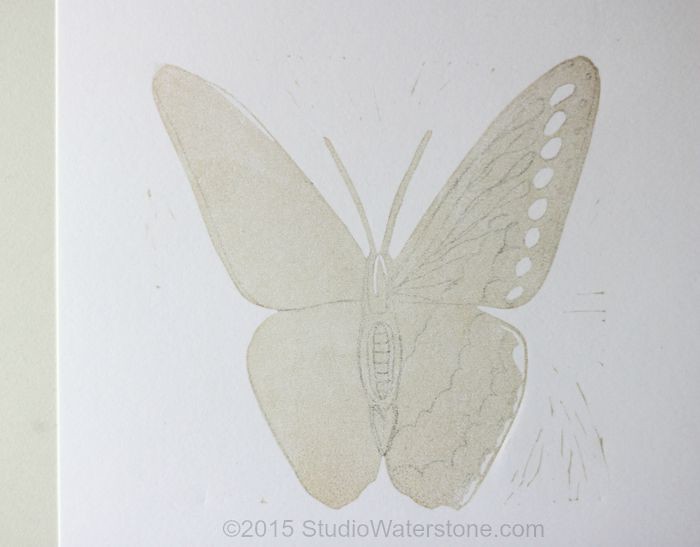
After printing about a thousand five of the first color,
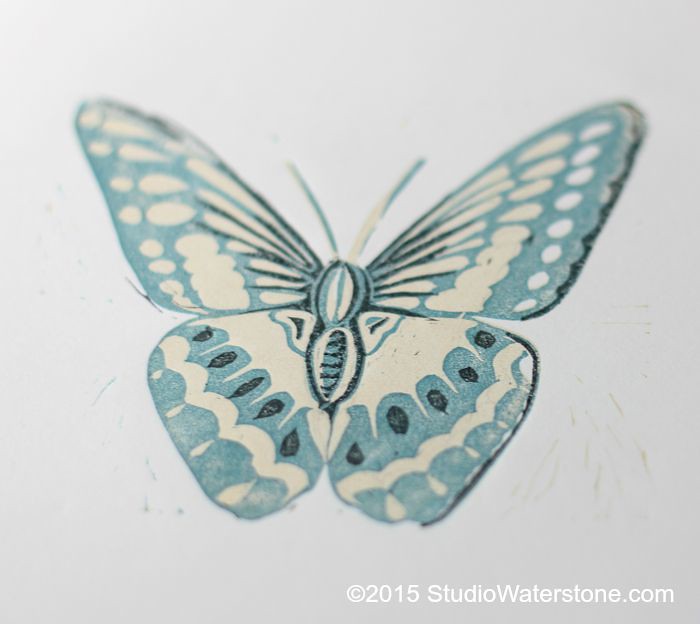
I carved away the negative spaces for my second color.
I carved away the negative spaces for my second color.
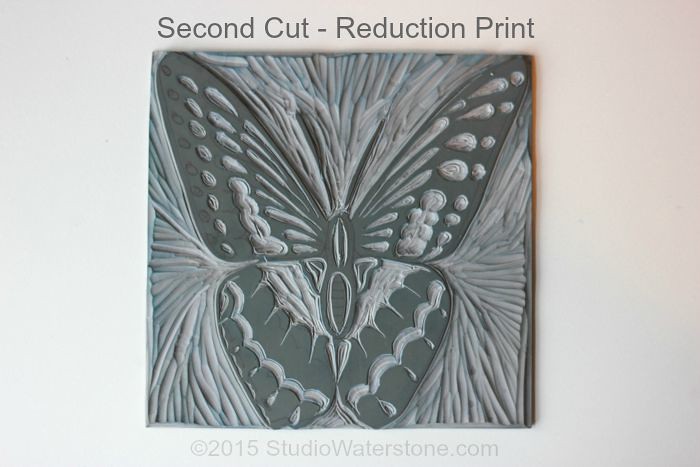
aaaand printed with my handy dandy wooden spoon to get this...
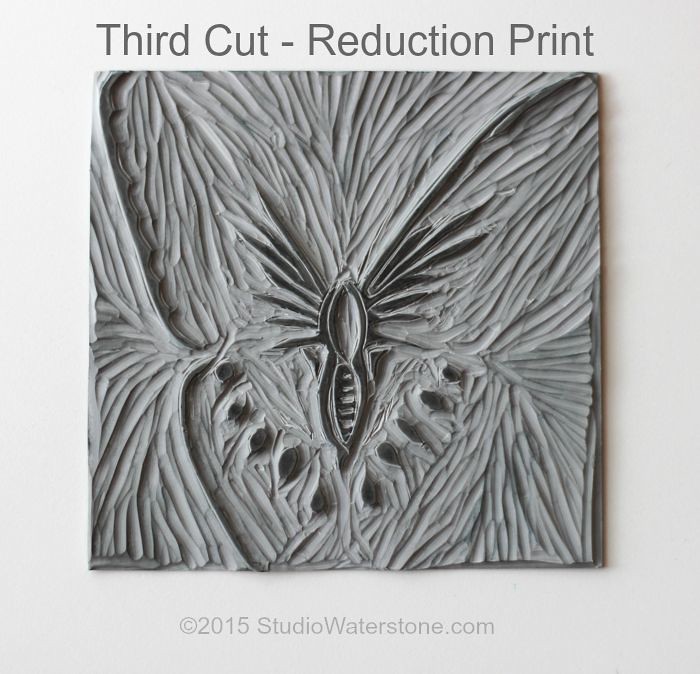
Finally, I carved practically everything off, keeping a few lines for details with the darkest color.
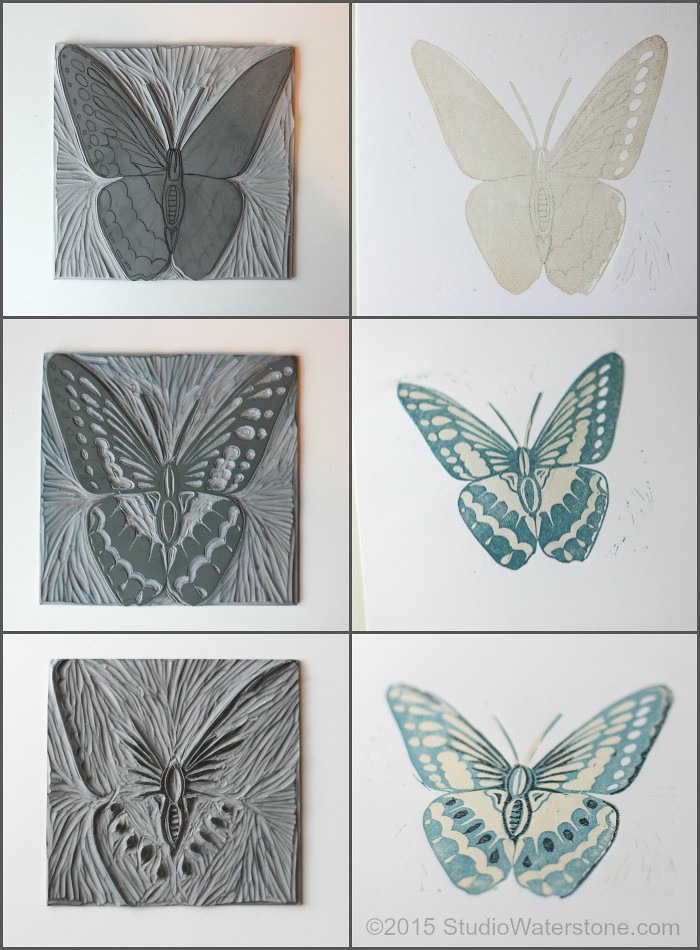
Below is a collage of the process. I made this at-a-glance sucker for my own use.
Because understanding reduction printing is a process.
If you'd like this chart, just click on the image and download.
So there you have it. A simple, three color reduction print. Now that I've been able to wrap my mind around the process without completely flubbing up, I'm doing more. It's kind of addictive.
Printmaking Demonstration: Four Color Reduction Linocut by Belinda Del Pesco
Printing a Reduction Linocut by Mirka Hokkanen
This picture does of great job of explaining the process visually.
• To view weeks 1-32, click here.
• Follow Studio Waterstone on Bloglovin.


Love seeing how you do this, really useful - and the butterfly is gorgeous!
ReplyDeleteOh my goodness. Absolutely stunning - you are amazing!
ReplyDeleteI don't know about that, but thank you for such sweet words. :)
DeleteWow, that's impressive !!! The result is simply gorgeous !
ReplyDeleteI think I wouldn't have the gutt LOL
Great job, Lori ! ox
Thanks Sonia. I think the key is to to try it with something simple that you're okay if it's a fail.
DeleteThis is impressively beautiful - I love lino printing but have yet to be brave enough to go the reduction route.
ReplyDeleteThanks, Erin. As I said to Sonia, trying it out with a small, simple carving makes it not such a big deal if it fails. That way at least you've learned the process. At least that's best for this hands-on learner.
DeleteBeautiful!
ReplyDeleteI like how you use the term "simple"....NOT! This is fascinating! Beautiful job! Thanks for sharing your process!
ReplyDeleteYeah Patti, had I had better sense I would have carved a circle or something equally simple for this first experiment. I had the very same thought as I was carving out those little lines. But nooooo. This is about as simple as my addled brain gets.
DeleteGood job and great results.
ReplyDelete