Simple Solutions: DIY Weekly Planner

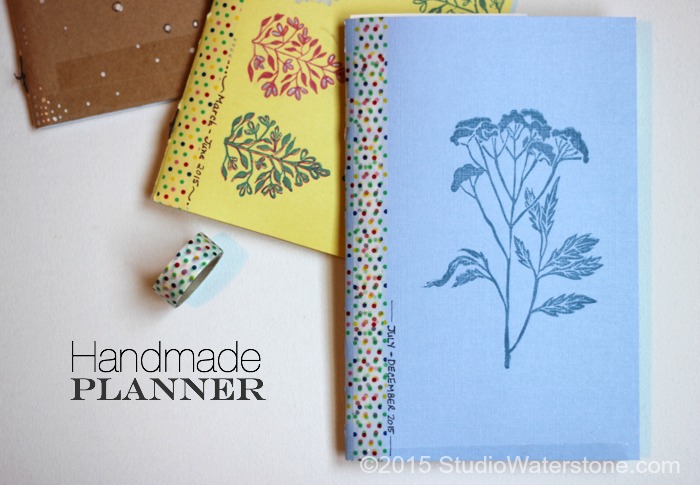
It's freaking July already! You may remember this post earlier in the year lamenting the fact that my favorite Moleskine planner is no longer in production. As a result, I got desperate creative and made my own.
Just finished my third and, I gotta tell you, in many ways it's better than the original Moleskine. It has the added feature of being an original - as colorful or plain as I want. Of course, I don't do plain. But you get my drift.
Just finished my third and, I gotta tell you, in many ways it's better than the original Moleskine. It has the added feature of being an original - as colorful or plain as I want. Of course, I don't do plain. But you get my drift.
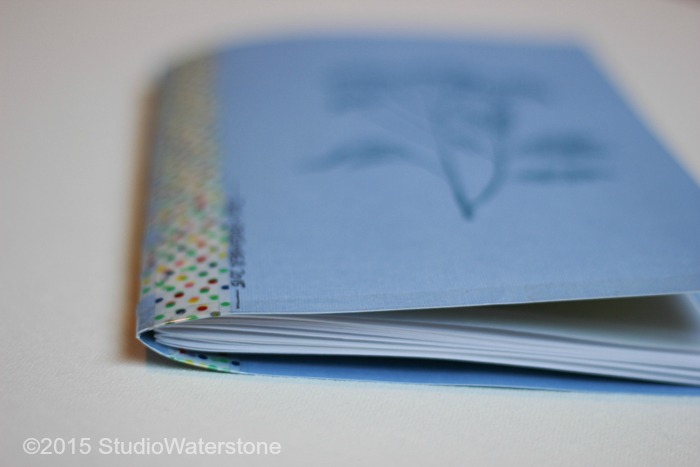
I decided to make my third planner cover July through December. With that in mind, I needed to create this booklet using signatures (sections of folded paper as opposed to one booklet with one set of folded pages. Each set is called a signature).
This booklet has four signatures. Each signature covers two months with the fourth being plain paper for adding extra notes. I used this tutorial for connecting the signatures to create the finished text block.
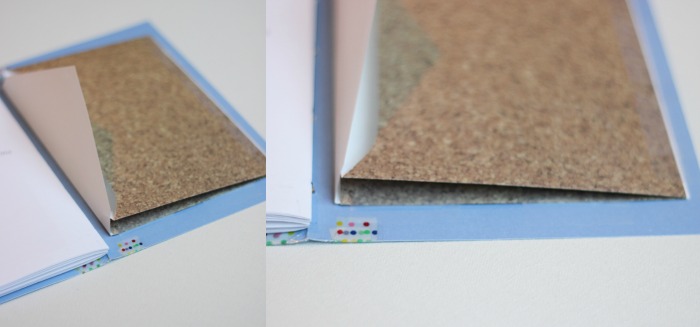
Note: Since this is a planner and not a "forever" book, I took an easier route when connecting the text block with the outer cover. Here's what I did...
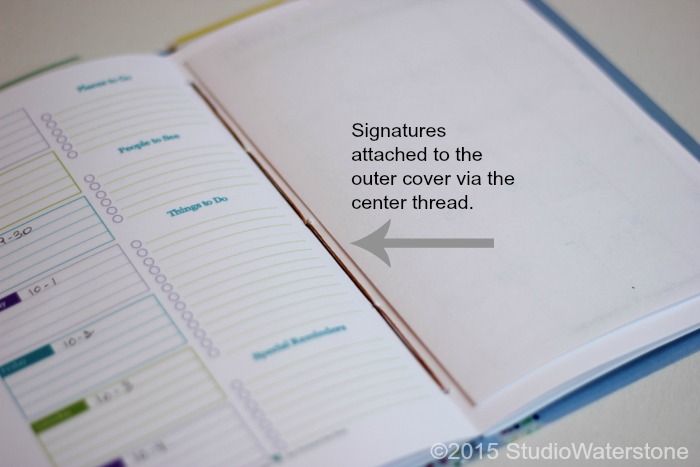
Once the text block was created, I attached it to the outer cover by stitching in and out, down once and then back up through to the center of the booklet using my waxed linen. (Similar to how you would create your first signature.) Once I went down and then back up I knotted the linen on the outside to form the finished booklet. Comment below or contact me if you'd like a more detailed explanation.
Now for the features...
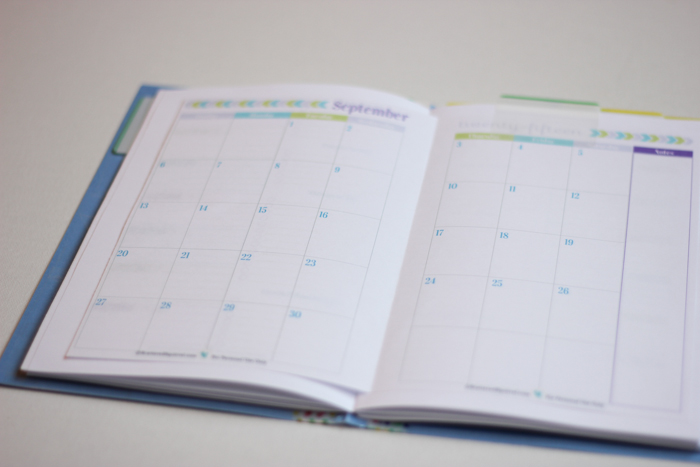
I prefer the weekly planner. At the beginning of each month I attach a fold over month-at-a-glance page. I put a tab at the top of each one to easily find it. The image above shows the month open. Below it's shown closed.

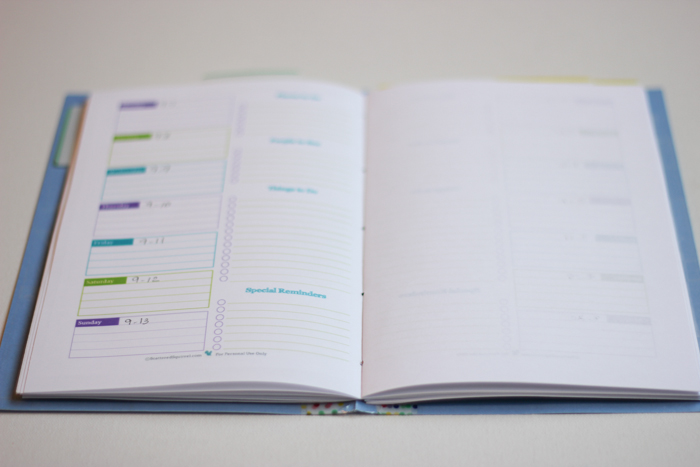
Again, using the weekly overview available through Scattered Squirrel, I show each week on one side and a blank page for notes and/or sketches on the opposing page. This took a bit of creative tweaking. Using Photoshop, I created a page with one week printed only on the left side. I flipped the page over and reprinted it, again, with the week printed on the left side, leaving the right side blank.
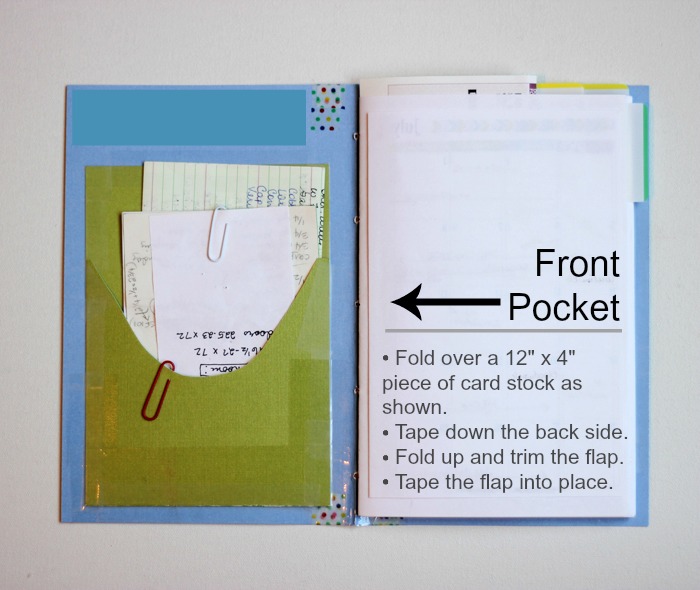
One of my favorite features of Moleskine is the back pocket. To make this, I used a greeting card envelope, again tweaked into an expanding envelope by replacing the lower part with an accordion folded piece of paper. The upper flap keeps important things safely tucked away.
That's it! July - December completed and ready for use.


Your planner is gorgeous. I love that you made it yourself, I may have to try my hand at following your tutorial and see if I can make one for shopping lists and a spending tracker. :-)
ReplyDeleteThat's the great thing about doing this (er...one of the great things) - you can customize your little booklet for any purpose.
DeleteLove this tutorial and the covers are so pretty! :)
ReplyDeleteLovely Witches
WOW!!! L. :)
ReplyDeleteYou are the master/mistress of creativity, they look amazing :)
I am afraid I would just break down and cry if my pink leather journals were discontinued, they already had a leather sourcing problem a while back and I called the company to complain about the substitution, lol ;)
Hope you have a wonderful 4th, cheers,T. :)
Haha - been there. You really should try it out. :)
DeleteBeautifully done, Lori!!
ReplyDeleteOh my gosh, I love your blog! I definitely need to get more organised and make myself a planner. What a wonderful idea, thank you so much for sharing! :D
ReplyDelete