DIY Stump to Rustic Table: Part Two
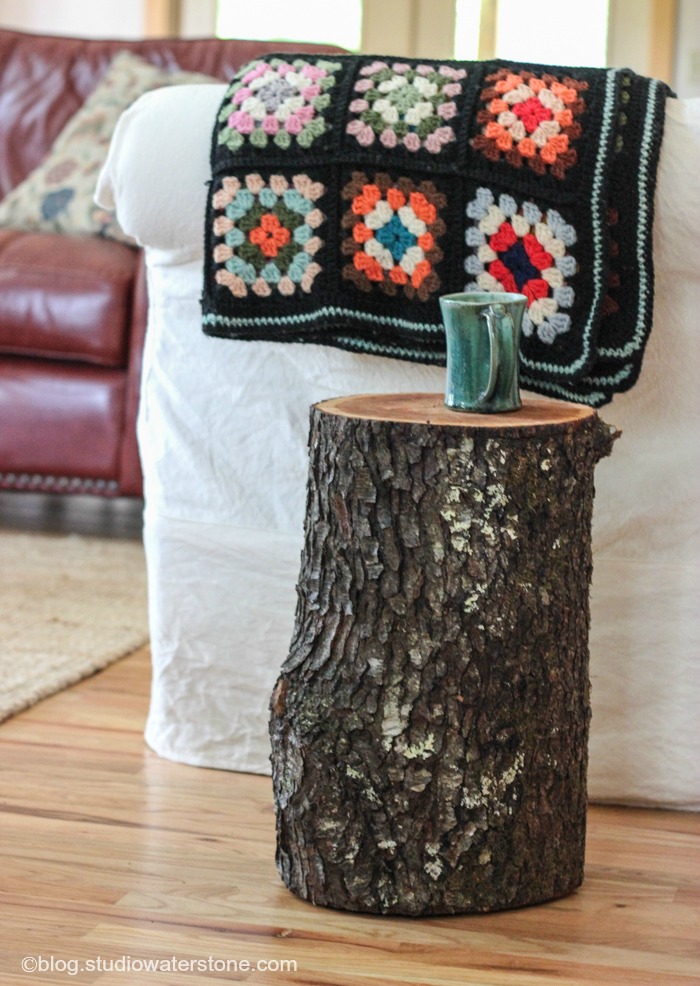
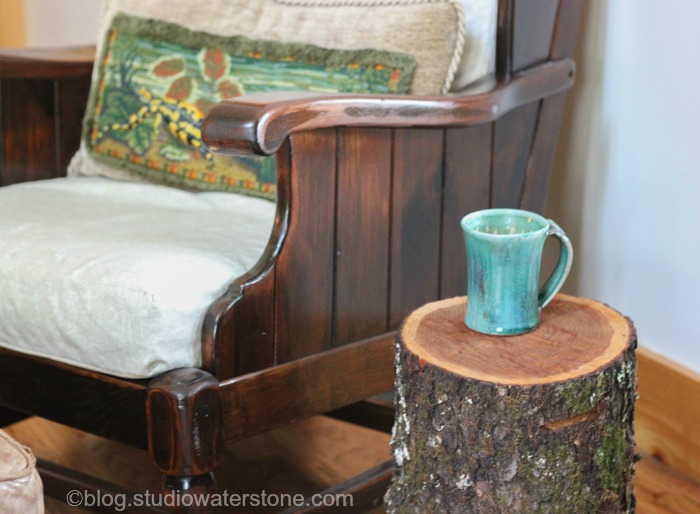
A couple of weeks ago I began a ridiculously simple tutorial for our stump tables. Finally finished those suckers last week and love how they turned out. We wanted to keep them as rustic as possible - so much so that we initially intended to use the stumps straight from the wood pile. Splitting wood and crumbling bark later convinced us that we needed to, at the very least, make a concerted effort to preserve our beloved "tables".
If you haven't seen part one, click here and I'll wait...
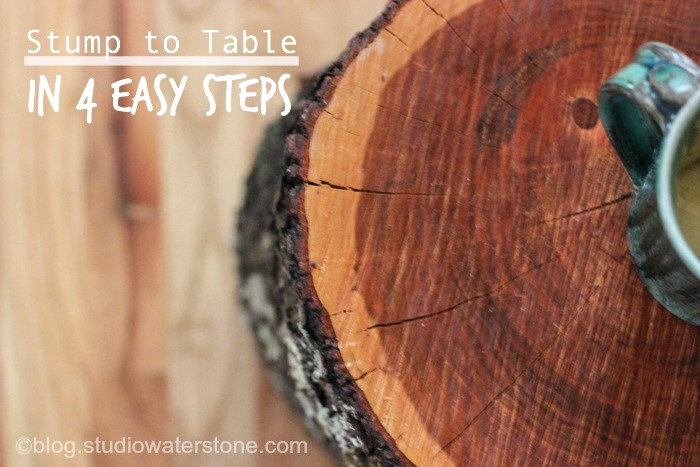
So, if you're following along and haven't judged and dismissed my tutorial skills due to the wine consumed in part one, you will have brushed your stumps to remove dirt and clingy things and applied at least two coats of conditioning oil to both the top and bottom. Then they should have been allowed to dry for at least 72 hours.
Now for the technical part.
Working in a well ventilated area, spray the bark with a clear polyurethane (I used this) covering completely all the way around. Allow it to dry for at least one hour between coats, then reapply at least 3-4 coats. After the final coat, allow it to dry for about 24 hours.
To finish, I added several large felted floor pads to the bottom to protect the floor from scratches. (This is what I used.)
Our gorgeous stump tables have been put to use. Perfect for a cabin in the woods. Or a deck. Or your first apartment. Or if you just can't afford a table.


Lori, I LOVE this, and I am actually going to give it try, since I have the perfect spot for one of these at House #2. Thank you so much for sharing how you did it. Much appreciated!!
ReplyDeleteI would so love to have one of these in my living room!!!!
ReplyDeleteBrilliant idea :)
ReplyDelete