easily resize your banner to fit your blog width
Ever noticed that blogs are more visually appealing when everything lines up perfectly? On the flip side, have you ever noticed a banner that does NOT line up perfectly? It will either hang off to the right side or fall short of the width of the actual blog. I'm going to show you how to easily resize your banner to fit the size of your blog. Believe me, you CAN do this.
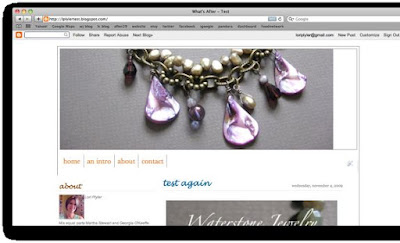
The following examples show banners that are either too long or too short.
The first image is too long for the width of the blog.
(click on the image to see an enlargement)
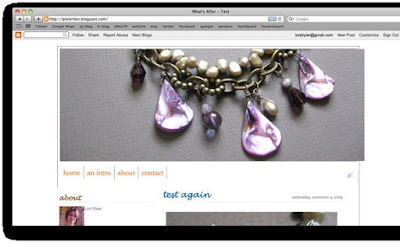
In the example below, the banner image falls short of the width of the blog.
This is how you change the size:
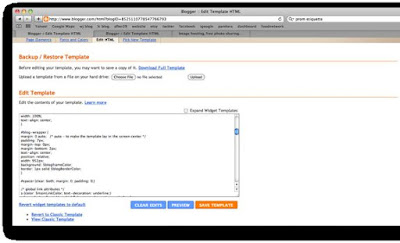
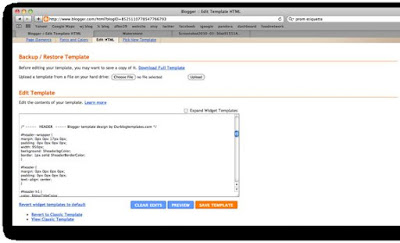
After signing into Blogger. Go to Customize > Layout > Edit Html. Don't worry, you will be doing ABSOLUTELY NOTHING to the html. You're just noting the sizes.
The first part of the html has to do with your font and colors. Scroll down until you see this: /* -------- GLOBAL ---------
Scroll a little further until you see this: #blog-wrapper {
Under #blog-wrapper and beside “width” note the number. (Mine says 952px (this is the TOTAL width of your blog, including any borders. Notice under that it says: border: 1 px solid.)
If you scroll a little further you will see this: #header-wrapper {
Under that heading look for the width. (Mine indicates 950px.) This is your header (banner) width. Write this number down.
*Now just for the sake of understanding. If you look at the number that you noted earlier (#blog-wrapper + border), it will add up. My header-wrapper is 950. The border is 1. Multiply that times two (because your border adds to both the left and right side) and you will get a total of the “blog-wrapper size". Mine is 952. Make sense?
Next, you will need to find your current banner (or just the image itself). It will probably be saved to your desktop or in documents or even in your photos. Write down the title. (If it’s NOT on the desktop or documents, you need to find it in your photos and go to FILE > EXPORT. Export it as it’s full size.
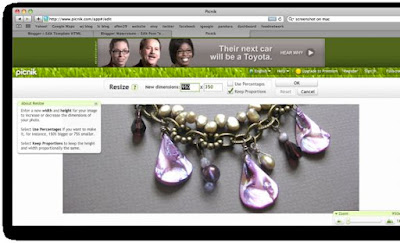
Go to a photo editing site such as picmonkey.com and upload your image file. After uploading your image, it will open under the “Edit” tab. Click on “Resize” and change the first number (the width) to correlate to your noted “header-wrapper” number (mine is 950). “keep proportions” should be checked. Once the width is changed, click OK. Then click the tab “Save & Share”. Save your photo to your desktop.
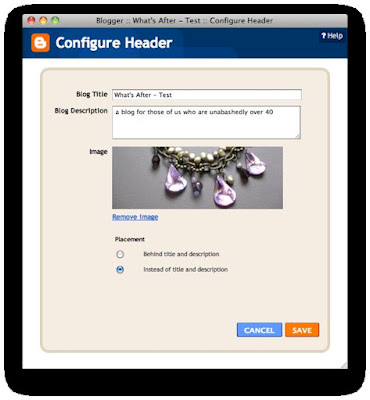
Go back to blogger. Go to: Customize > Layout > Page Elements. Under this tab you will see a basic layout of your blogpage. You will see a box that ends with [header]. Click the edit button. A box will pop up showing your current banner. Click “Remove Image”. Check the box that says “From your computer” and choose the file that you’ve saved to your desktop. It will upload the new file and show the new image. click to save. This box will disappear and you can view your blog now with the banner fitting perfectly.

Great and simple fix. Thanks!
ReplyDeleteYay! Computery stuff! Love it!
ReplyDeleteneat-O!
ReplyDeletesee, I can't find the /*GLOBAL #blog-wrapper at all in my html. did something change? I am having the MOST difficult time trying to fix the header picture. thanks for your help. your tutorials are always a big help.
ReplyDelete